Building Scalable Backend APIs with NestJS: Architecture, Patterns & Production Best Practices
If you've been building Node.js backends with Express, you've probably felt the friction: no enforced structure, no dependency injection, no validation pipeline out of the box. Every project looks different. NestJS solves all of that — and it's why I use it for every serious backend project I build.
In this guide, I'll walk you through the architecture patterns and key decisions that make a NestJS backend production-ready.
Scalable Architecture Design
The most important decision in any NestJS project is how you split your modules and design your system. A typical architecture involves a Gateway/Server layer feeding into specialized services: databases, caching (Redis), and external APIs.
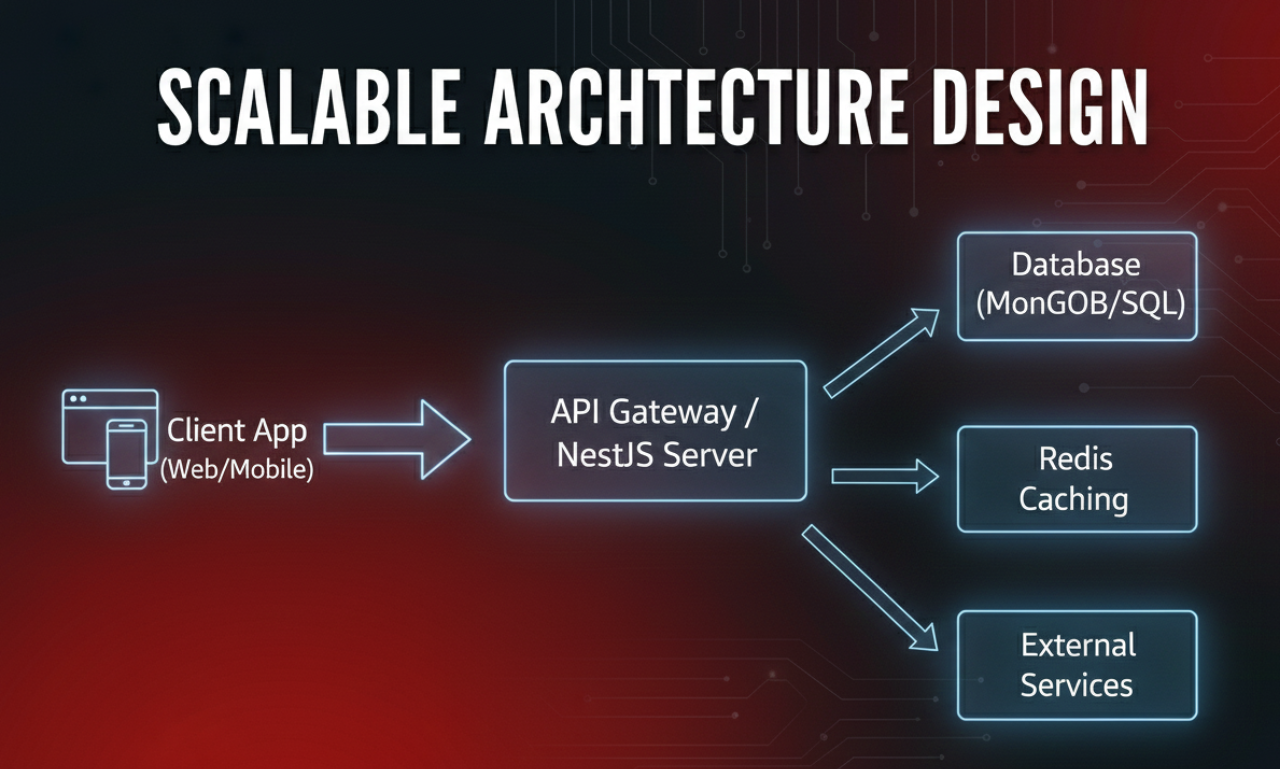
Each module owns its controller, service, and data layer — and only exposes what other modules need. This separation keeps your codebase navigable even as it grows.
The Full Backend Stack
A modern scalable backend isn't just Node.js. It requires a robust ecosystem of databases, DevOps tools, and cloud deployment pipelines.
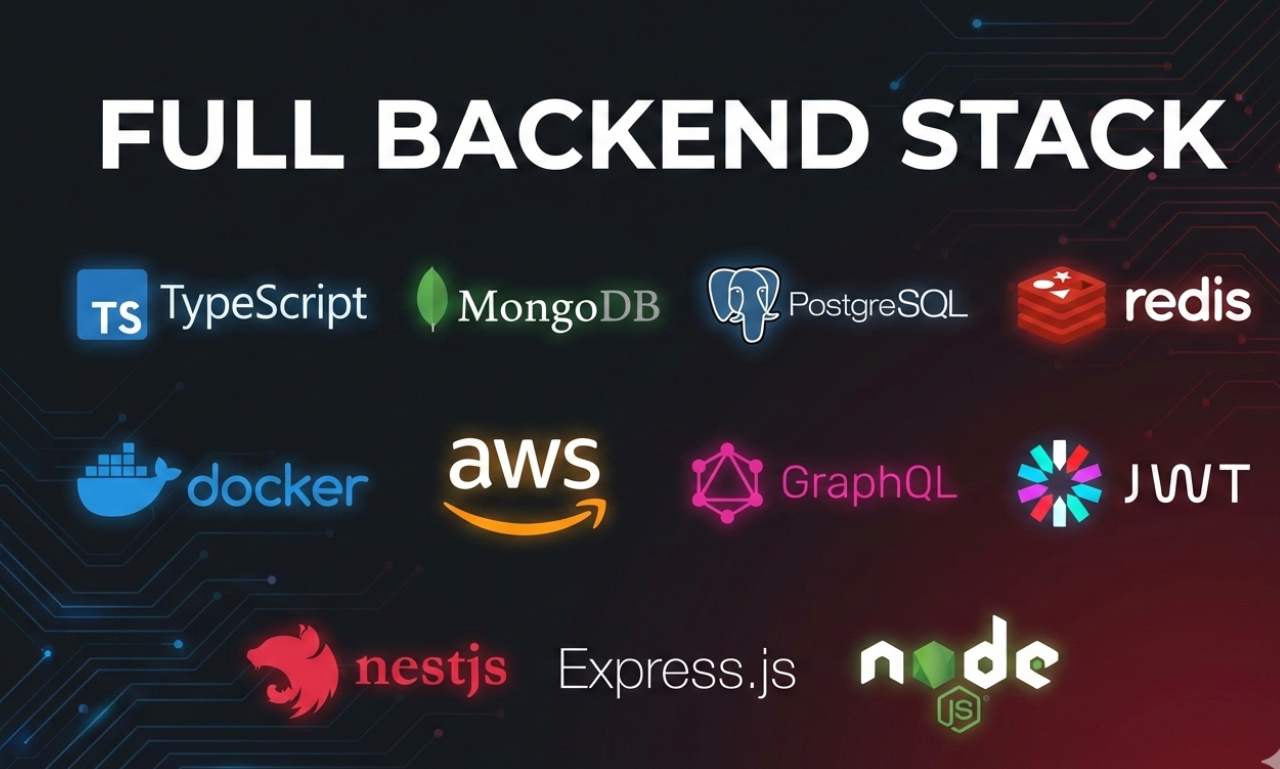
Whether you're using MongoDB, PostgreSQL, or integrating Redis for caching, NestJS provides built-in modules to integrate these seamlessly via Dependency Injection.
JWT Authentication with Guards
NestJS makes JWT auth clean through Guards and Passport strategies. The JwtAuthGuard pattern allows you to mark routes as public or protected with a simple @Public() decorator.
Apply it globally in your main module, then use the decorator on any route you want to bypass auth. Clean, consistent, and readable.
API Documentation with Swagger
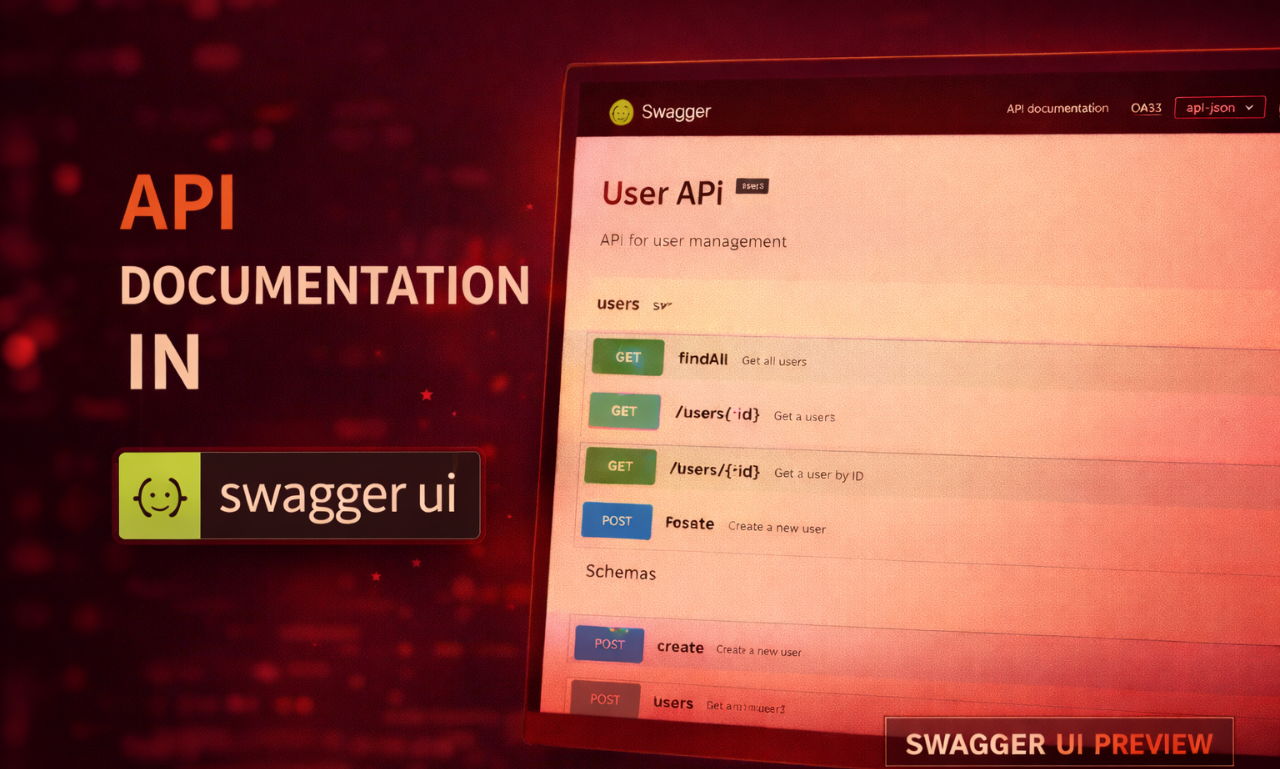
One of NestJS's best features is automatic Swagger docs from your existing DTO and Controller decorators. Add @nestjs/swagger, decorate your DTOs, and your API is self-documented.
Your clients and teammates can explore and test the API directly from the browser without reading your source code. This is an absolute requirement for any professional backend.
Docker: Production-Ready from Day One
Containerizing your NestJS app is straightforward. Use Docker multi-stage builds to keep the final image clean, dropping dev dependencies and TypeScript compilers so your production image stays incredibly small and deploys stay fast.
Key Takeaways
After delivering multiple production backends with NestJS:
- Module boundaries are your biggest architectural investment — get them right early
- Always use the repository pattern — direct ORM usage in services is painful to test
- Global ValidationPipe, ExceptionFilter, and LoggingInterceptor are non-negotiable
- Rate-limit auth endpoints from day one — not after your first incident
- Docker multi-stage builds in development — so production is never a surprise
NestJS changed how I think about backend architecture. If you're building anything serious — whether as a freelancer or inside a team — it's worth learning deeply.
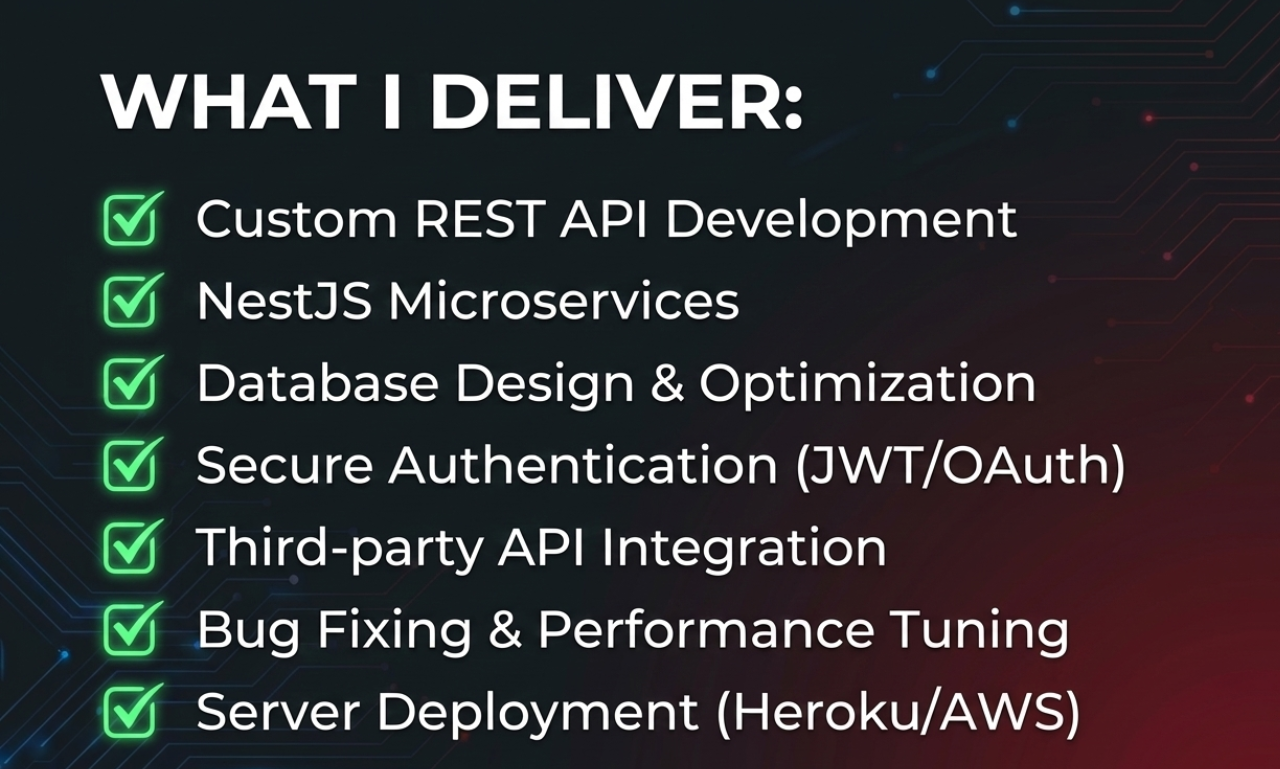
I'm Ananta Sharma, a Backend and AI Automation Developer from Pokhara, Nepal. I build production APIs, integrations, controlled AI workflows, and custom software. Available for backend projects on Upwork and Fiverr. Connect on GitHub or LinkedIn.
A production integration example: enquiry to CRM
A module diagram becomes useful when it describes a real failure boundary. Consider a website enquiry that must create a CRM opportunity and an owner task. The API should not depend on every external provider responding before it can acknowledge a safely captured request.
The following is a proposed design, not a claim that NestJS alone supplies these guarantees:
- The controller authenticates or otherwise protects the intake route and validates the input.
- An application service stores the enquiry and pending integration work durably.
- A worker resolves the contact and applies the approved CRM changes.
- An adapter translates provider-specific fields and errors.
- An operational view exposes unresolved work to the owner.
Keep the domain rule—such as which service needs which owner—separate from the provider's HTTP request format. This lets a CRM change without forcing every controller to understand the replacement API.
A small, testable data contract
Before writing a provider client, test the rules that turn an intake request into a useful record. This downloadable JavaScript contract example runs with Node.js and includes a standalone synthetic-data demo:
node crm-capture-contract.cjsIt validates a small service vocabulary, requires stable source identity and routes missing or invalid contact information to review. It does not call a CRM, validate provider signatures or implement durable idempotency. Those are separate integration responsibilities; the example deliberately does not pretend that an in-memory function is a complete production backend.
For the business-level field map, see how to automate CRM data entry. For a repeated-attendee scenario with a different identity model, see event data CRM integration.
Validate at the boundary, then apply business rules
NestJS's ValidationPipe documentation describes options including transformation, property whitelisting and rejecting non-whitelisted properties. DTO validation checks the transport shape; the application still needs rules for allowed services, tenant ownership and legal state transitions.
Do not treat an email-shaped string as proof of identity. Do not pass an untrusted object straight to a database update. Map accepted values into the intended command and check ownership before selecting or changing a record.
Authentication and authorisation are separate concerns. A logged-in user can still reference somebody else's opportunity. For public intake, an authenticated browser session may not exist at all; abuse controls and write permissions must fit that route's purpose.
Use queues without promising exactly-once processing
Nest supports BullMQ through its queue integration. A queue can move slow provider work out of the request path, but it does not make an external side effect transactional with your database.
Choose a durable capture boundary. If your database saves the enquiry but queue submission fails, an outbox or reconciliation mechanism must find the pending work. If the CRM accepts a request but the worker loses the response, recovery must resolve the uncertain result before creating another opportunity.
BullMQ's idempotent-job guidance supports designing work so retries do not change the intended result. In this example, that means stable external references, durable local progress and provider-aware recovery. A job identifier alone is not a permanent duplicate ledger, especially after job removal.A failure-handling table for the CRM worker
| Failure | Application response | Owner visibility |
|---|---|---|
| Invalid service value | Reject or review before calling the provider | Validation error with a source reference |
| Repeated source delivery | Return or reuse the existing result | One enquiry, not another task |
| Second real enquiry from the same customer | Resolve the contact; keep the new opportunity | Separate source references |
| Rate limit | Retry according to the provider's guidance | Retry state and next attempt |
| Unknown result after a timeout | Reconcile before repeating a create | Uncertain-write status |
| Revoked credential | Stop automatic retries and alert | Actionable connection error |
| Mapping changed | Review the incompatible record | Version and field error |
These cases should be tests, not just log statements. In particular, simulate a successful external write followed by a lost response. That is where a happy-path integration often creates duplicates.
Webhook verification needs the actual request bytes
If a provider signs the raw body, verify against those bytes using the provider's documented algorithm. Re-serialising parsed JSON can change the bytes. NestJS explains raw-body access in its official raw-body guide.
The signature check, replay policy, request limits and acknowledgement rules depend on the provider. Do not reuse a payment provider's verification scheme for a CRM simply because both use webhooks. After verification, map the envelope into your own command and keep customer payloads out of routine logs.
Measure the integration, not just HTTP latency
Useful signals include time to owner assignment, unresolved capture failures, retry age, duplicate opportunities and records requiring correction. HTTP response time is still important, but a fast acknowledgement followed by a permanently lost lead is not a successful outcome.
Give each workflow a correlation reference across capture, worker and provider adapter. Store only the information needed for operation and recovery, with a documented retention approach and access controls. A dashboard should help the owner fix the workflow without exposing complete customer messages to everyone who can read logs.
How I would scope the first implementation
Start with one source, one destination and one visible owner task. Agree on the data contract, permitted writes, exception handling and acceptance tests before adding AI extraction or another provider.
For a team moving from a simple API to a dependable integration, the valuable work is often clearer boundaries and better recovery—not an immediate migration to microservices. A modular monolith with tested adapters can be an appropriate starting point.
If your backend needs a reliable CRM handoff, webhook worker or controlled AI workflow, explore my automation and integration services or book a free consultation. Bring one current failure or repetitive task, and we can identify the smallest production improvement worth building.